Beauty Blog
How To Overline Your Lips
The right makeup can transform the way we look and feel about ourselves. It doesn’t take a Kylie Jenner lip kit to get Kylie Jenner lips, but, rather, strategic makeup application paired with a few expert tips. If you’re wondering how to overline your lips, keep reading. We’ve got a 6-step guide to creating plump, full lips in minutes.
Overdrawn lips can give the illusion of volume to those not generously endowed by making thin lips look bigger and fuller. Once you have mastered the below technique, it will undoubtedly become a part of your regular makeup routine.
Step 1: Prepare Your Lips
Imagine your lips as a surface on which to create a piece of artwork. Just like a painting canvas needs preparation to accept colored oils, your lips need to be in their best condition to receive makeup that glides on and lasts.
Start by gently using a lip exfoliator to remove any dead skin. If you do not have one, lightly rubbing with a warm, wet washcloth should do the trick. Be sure to gently blot your lips dry.
Step 2: Apply Primer or Plumper
Do you have the issue of putting lipstick on, only to have it wear off just minutes later? If so, a good lip primer should solve this problem. Lip primers help color products go on smoothly by moisturizing the surface of your lips and also extend the wearing-time of your makeup.
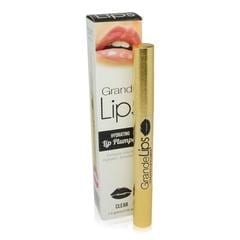
If your goal is outrageously super-plump lips, look no further than GrandeLash GrandeLips Clear. This luxurious product delivers both hydration and volume.
Begin by applying lip primer or plumper, or both, to your lips and let dry.
Step 3: Choose and Use the Right Lip Pencil
To flawlessly create this bee-stung look, it is essential to pick the right color lip pencil. It should be in a shade just slightly darker than your own. This allows it to blend seamlessly with your skin tone and furthers the illusion of larger lips.
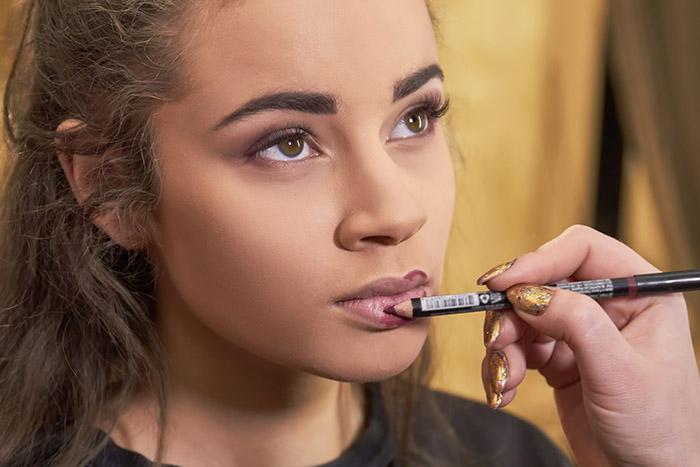
First, make sure the pencil is sharp. Then, using a light touch, sketch feathery strokes just inside your actual lip line. It is best to start on top in the center and work outwards, repeating again on the bottom.
If you are looking for a natural pencil with fabulous color, LaLa Daisy recommends Colorescience Mineral Lip Pencil. It provides definition to your lips, won’t dry out your skin, and stays on for a long time.
Step 4: Be Creative With Your Lip Pencil
Your second lip lining gives you the opportunity to have the size lips you always wanted. By going just outside your natural lip line, you extend the visual appearance of your actual lip.
Using the same pencil, draw another line just outside of the first, this time with a slightly heavier touch to create definition. If you want, you can go even a little higher above your Cupid’s bow, or lower in the middle of your bottom lip, to slightly alter your natural shape.
Take a moment be sure that you have not gone overboard. Step back and look in the mirror to assess that your outline is realistic-looking.
Step 5: Fill in With Lipstick
Now, using a matte lipstick in the same shade as your lip pencil, carefully color inside the lines you have created. Be sure to cover your lips completely.
While you may be tempted to use a lip gloss or glossy lipstick, a matte lipstick is much better for this technique. It tends to blend better with the lip pencil and therefore looks less obvious.
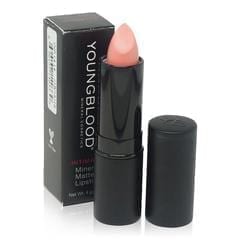
A great choice for a super-rich matte lipstick is Youngblood Intimatte Mineral Matte Lipstick, which is formulated with natural ingredients like safflower seed, Vitamin E and antioxidants to keep your lips moisturized. This lipstick goes on smoothly and provides high-impact color.
Step 6: Accentuate With a Gloss or Highlighter
Now that you’ve filled in your color, it’s time to have fun by adding a bit of shimmer. Use a lip gloss or highlighter to draw attention to the center of your lips.
You want to be sure to choose a pretty shade and a product that won’t feel overly sticky. A perpetual LaLa Daisy favorite is Glo Skin Beauty Lip Gloss since it fits that criteria and even contains aloe to help keep lips hydrated.
Strategically place a swipe of highlighter or lip gloss in the center of your bottom lip. If you want, you can add a little to the middle of the top lip, or else very gently blot lips together to transfer some of the gloss. And voila – perfectly overdrawn lips.
If your first attempt at full lips leaves something to be desired, try again. Remember, practice makes perfect. Play until you find what works best for you while still keeping it natural.
Also, once you learn how to overline your lips, don’t be afraid to experiment to come up with different looks. Check out the great collections offered by LaLa Daisy to find premium natural products in beautiful colors and finishes.


