-
 Agadir Argan Oil Daily Volumizing Conditioner 12 oz
×
$15.961 × $15.96
Agadir Argan Oil Daily Volumizing Conditioner 12 oz
×
$15.961 × $15.96 -
 American Crew Pomade 3 oz 3 Pack
×
$33.251 × $33.25
American Crew Pomade 3 oz 3 Pack
×
$33.251 × $33.25 -
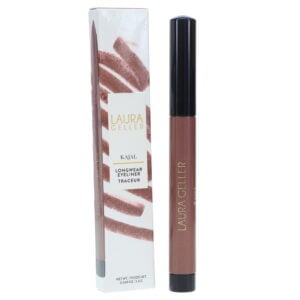 Laura Geller Kajal Longwear Eyeliner Soft Slate Kohl 0.049 oz
×
$24.001 × $24.00
Laura Geller Kajal Longwear Eyeliner Soft Slate Kohl 0.049 oz
×
$24.001 × $24.00 -
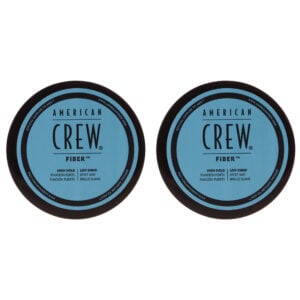 American Crew Fiber 3 oz 2 Pack
×
$26.951 × $26.95
American Crew Fiber 3 oz 2 Pack
×
$26.951 × $26.95

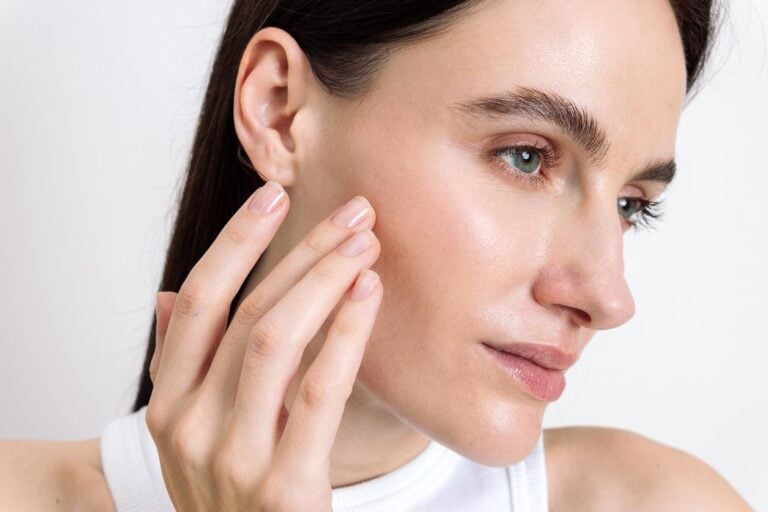
It seemed like until relatively recently, any make-up aficionado’s answer to achieve a smooth and even toned complexion was to simply choose the right shade of foundation – and then apply it liberally. However, in this age of artificial lights, constant selfies, and close scrutiny, color correcting make up has grown into a true art form. Indeed, in order to properly use the daring colors of modern concealers, it may be necessary to return to grade school art class.┬а
┬а
What Is Color Correction?
┬а
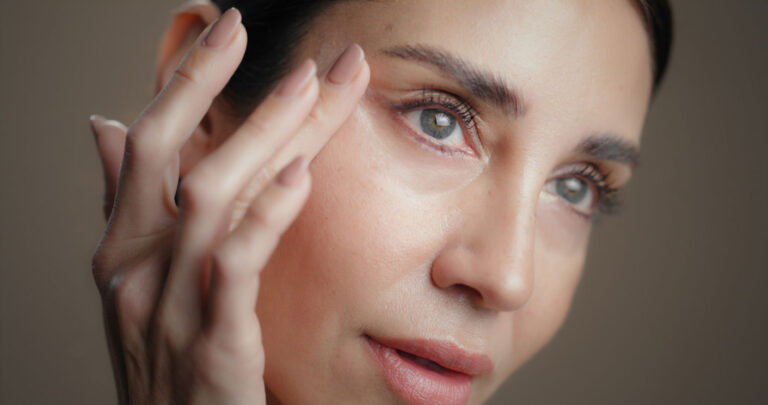
This now-famous technique has long been a secret strategy used by professional make up artists, and only now embraced by the general public. The concept is simple: a healthy, glowing skin is not the same as the “clay mask” that results from simply applying a thick layer of foundation. To be able to use less foundation and still even out any dark circles under the eyes, discolorations, blemishes, or rosacea, color correcting techniques use contrasting hues to cancel out these imperfections.
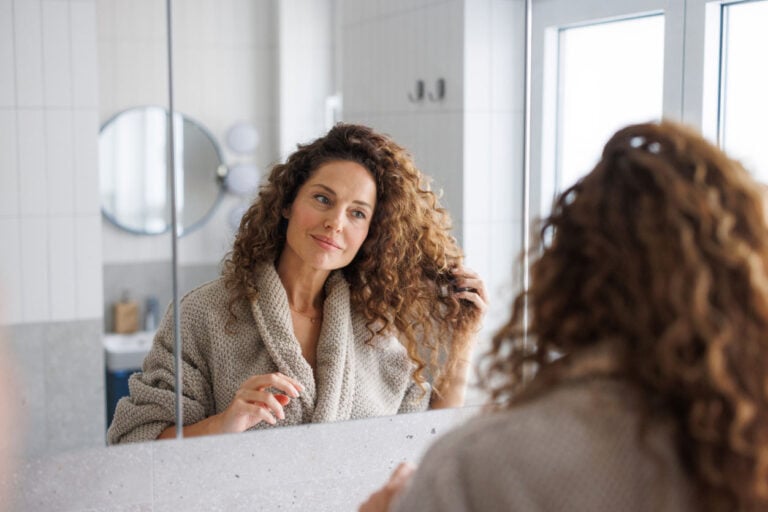
The result is a much more natural looking, and yet flawless, visage – pretty much how it looks when you get your make up done by a professional.
┬а
First, The Tools Of The Craft
┬а
Where it used to suffice with a concealer bar to hide a pimple or two, proper color correction now requires the following:
- A color correcting palette: Natural looking color correction can rarely be achieved with just one color. Most palettes include five different contrasting tones: yellow, purple, pink, green, and blue – and you’ll most likely need them all.
- A concealer bar: Color correction doesn’t replace the proper use of concealer, but it does help it look much more natural. Go for one that’s one or two shades lighter than your skin in order to blend it properly.
- Foundation: Whether liquid or creamy, foundation will add the finishing touch to your complexion and leave you ready for the catwalk. Sheer hues give the best results.
Always apply the correcting hue first, then add a very small amount of concealer on top, blending the edges carefully. As usual, leave the foundation for the end and make sure not to overdo it, especially around the eyes.
┬а
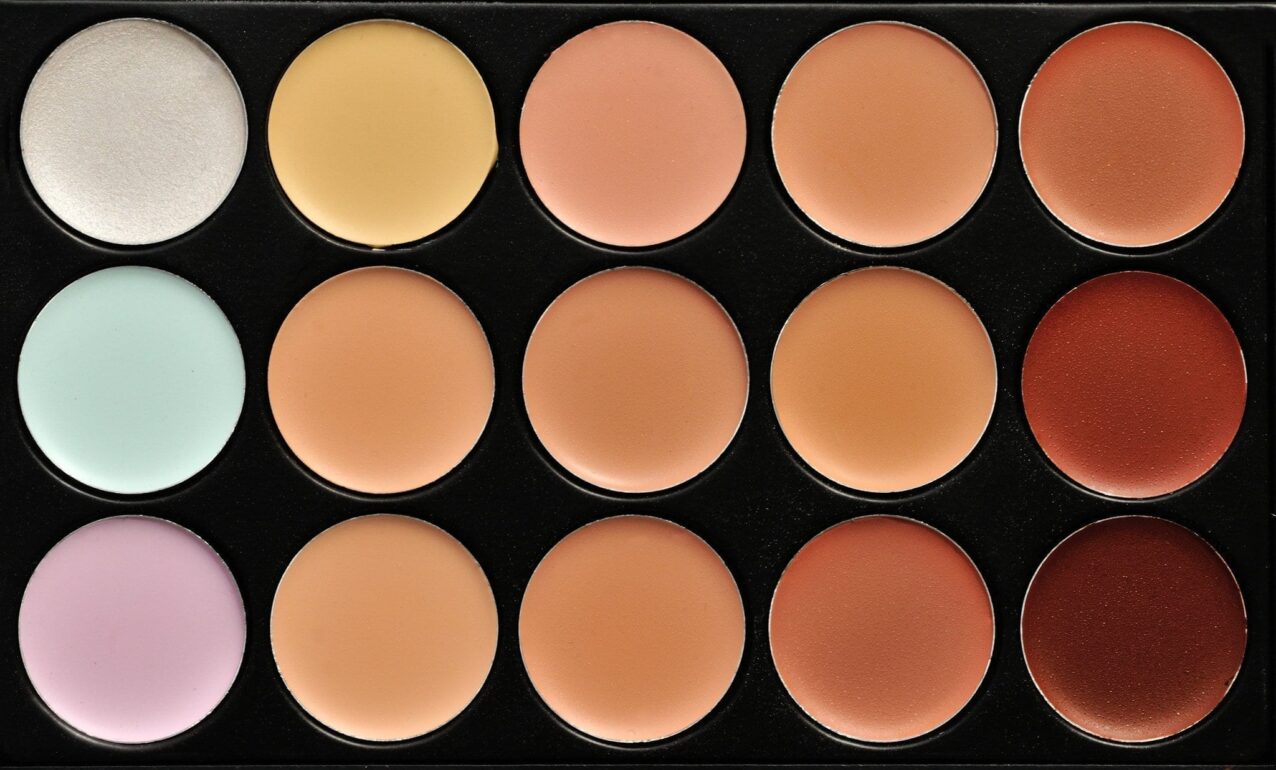
A Closer Look At The Palette
┬а
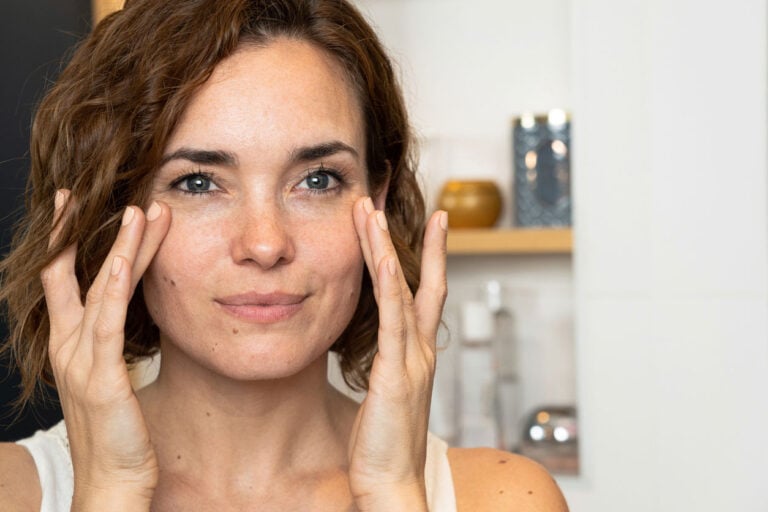
Much like in art class, the practical side of color correction revolves around the color palette. Each type of blemish on you skin, whether its a dark spot or reddish cheeks, should be matched by the color on the exact opposite side of the palette.
- If you have rosacea or inflamed pimples, add a few strokes of green.
- Blue is very useful for those with discolored spots or vitiligo.
- If the circles around your eyes are prone to going purple, add some pink.
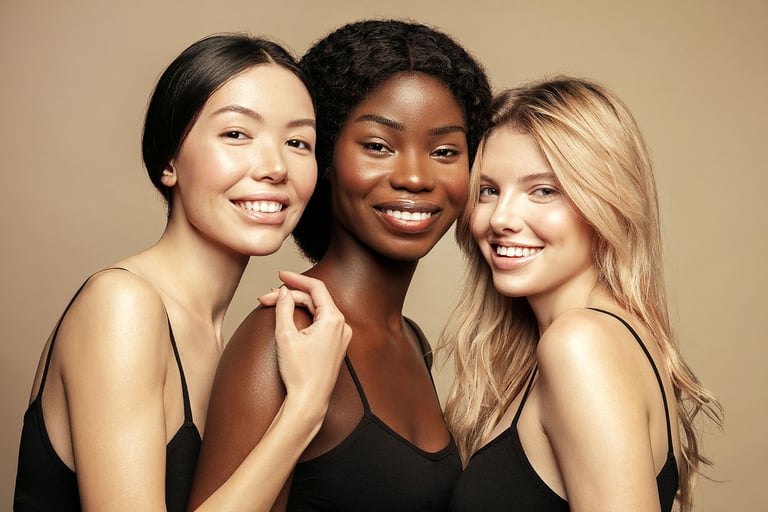
- If they go gray instead, or if you’re naturally dark skinned, try adding a bit of yellow.
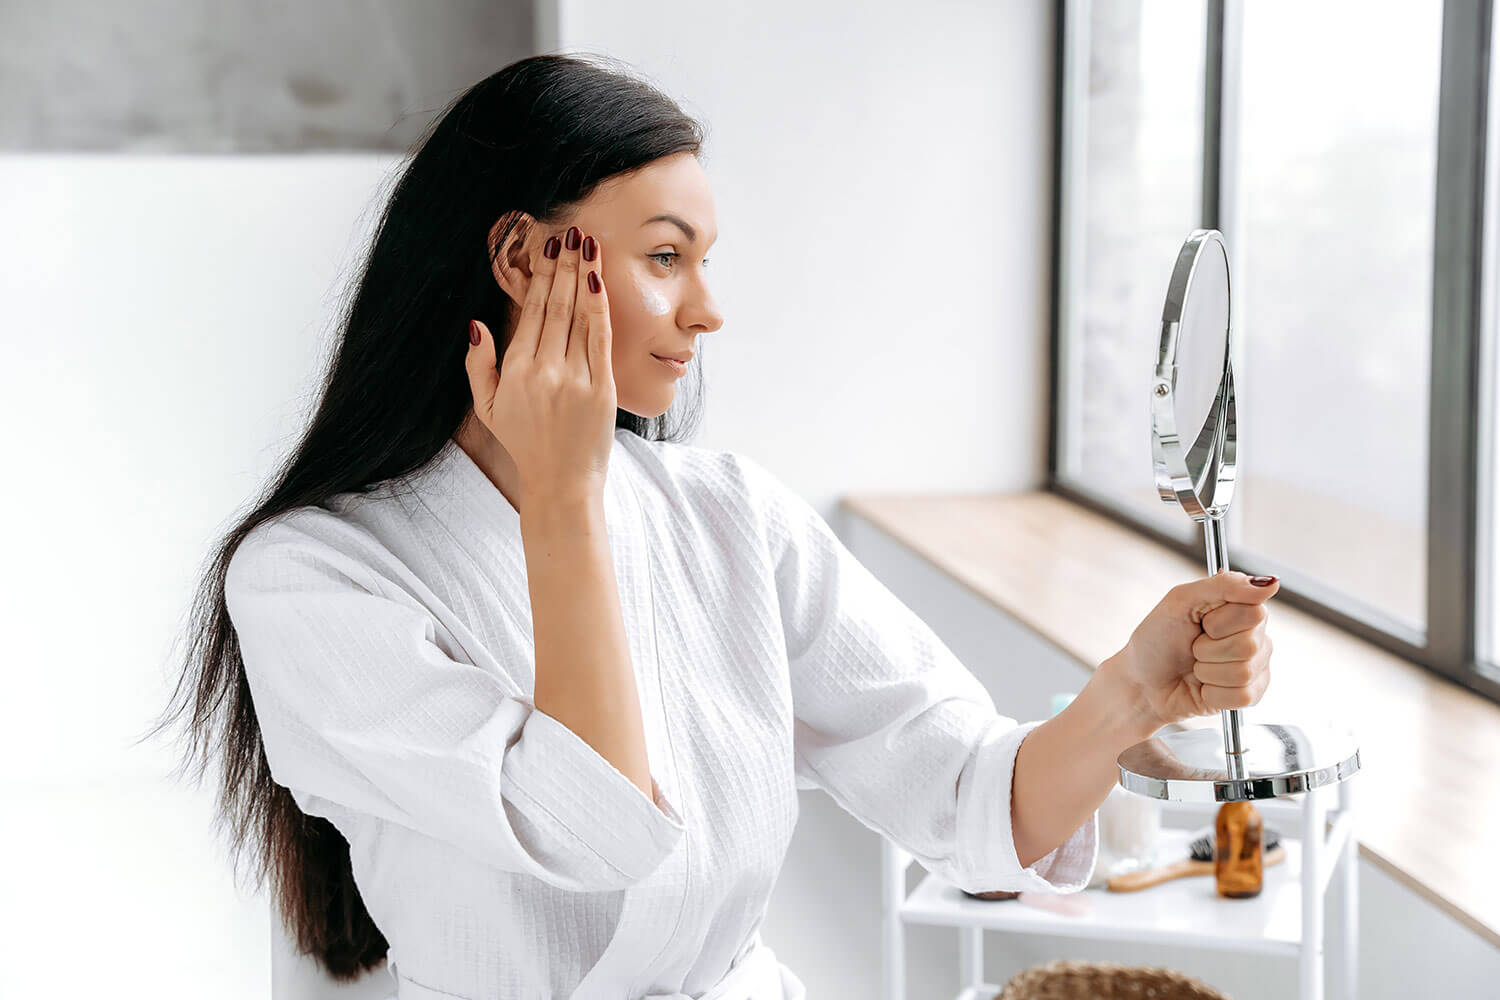
Although it’s bound to require several practice sessions, color correction has an amazing potential when it comes to hiding skin blemishes. For those who suffer from chronic skin conditions, such as adult acne or vitiligo, it can be a life-changing skill.
Whether you are ready to experiment on your own or are considering taking a special make up class, you will find everything you need for proper color correction at LaLa Daisy.com – Makeup Collection.