
Learning a frizz free blowout routine at home starts with using a salon-quality product. The gold standard product in our experience is, hands down, Unite 7 Seconds Detangler. Next, learn the sequence of steps leading up to the blow-dryer. Detangled, properly prepped hair responds to heat and a round brush in a completely different way than hair that is still damp with tangles or fighting frizz from the first stroke. This guide walks through how to build a frizz free blowout routine at home, step by step, from the shower to the final pass of the flat iron.
Why Frizz Happens During a Blowout
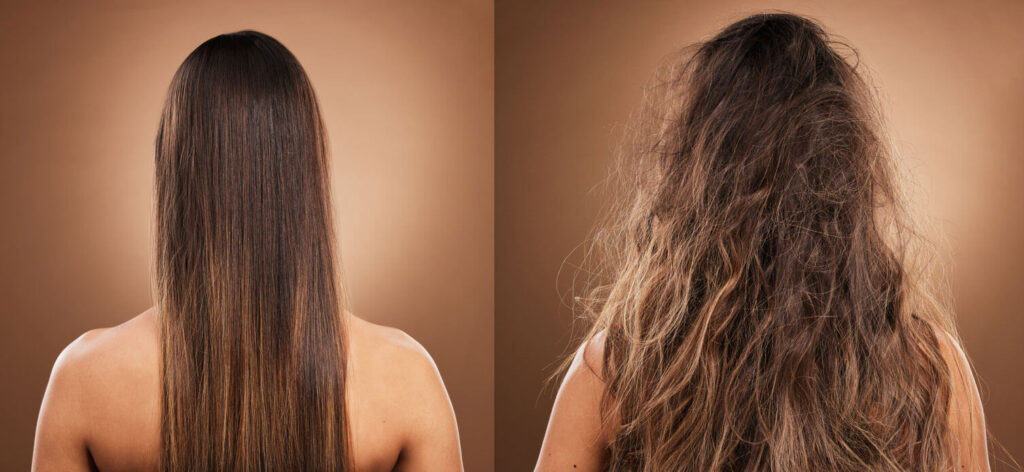
Frizz is caused by moisture moving in and out of the hair shaft unevenly, which lifts the cuticle and scatters light instead of reflecting it smoothly. During a blowout specifically, frizz tends to originate from one of three sources: hair that was not adequately detangled before drying, which forces the dryer’s airflow to disturb the cuticle at every knot; humidity in the air re-swelling the hair shaft as it dries; or heat applied without a protective, smoothing base coat, which allows the dryer’s airflow and the brush’s friction to roughen the cuticle directly.
Addressing all three points, rather than only reaching for an anti-frizz serum at the end, is what separates a blowout that holds its smoothness for days from one that frizzes back up within hours.

Step One: Detangle Before Any Heat Is Applied
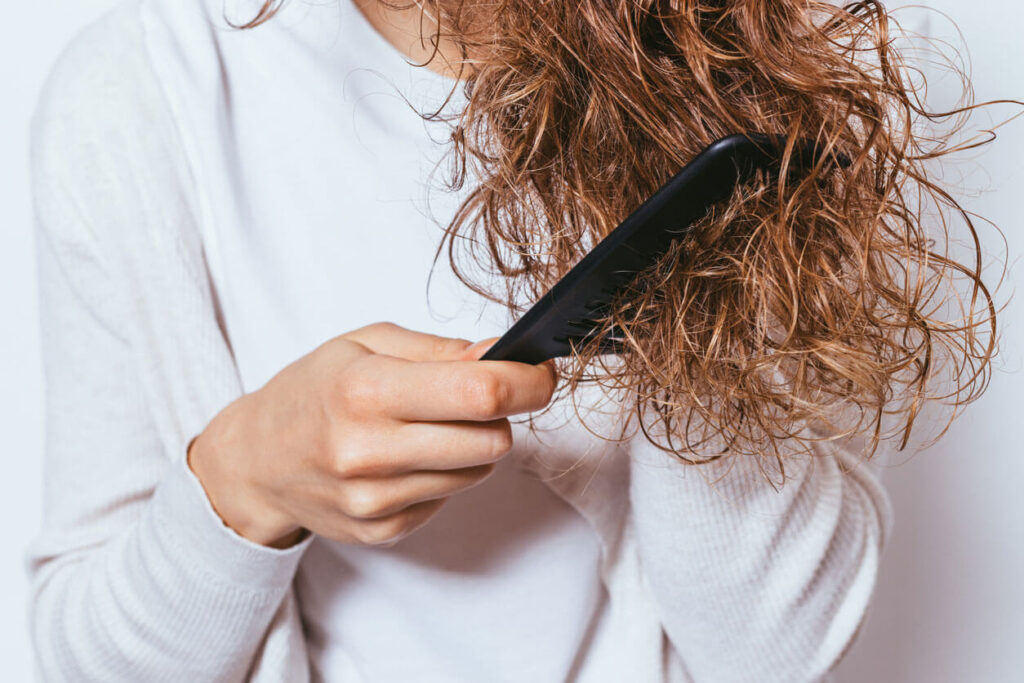
Attempting to round-brush through a knot is one of the most reliable ways to introduce frizz and breakage into an otherwise good blowout. Starting with fully detangled hair means the round brush can glide through each section in one smooth pass instead of catching, backtracking, and roughening the cuticle with repeated friction.
Applying UNITE 7 SECONDS Detangler to freshly washed, towel-dried hair accomplishes two things at once heading into the blowout: it removes the knots that would otherwise interrupt smooth brush strokes, and its lightweight conditioning agents lay the cuticle flat before a single pass of heat is introduced. For anyone whose hair tangles significantly or shows signs of damage, it is worth reviewing how to detangle damaged hair without breakage before starting the blowout routine, since a compromised cuticle needs a slightly more careful detangling approach before it is ready for heat.
Step Two: Apply a Heat-Ready Styling Base
Once hair is detangled, the next step is a product designed specifically to protect and smooth through the blow-drying process itself, rather than relying on the leave-in conditioner alone to carry that job. UNITE 7SECONDS Blowout Créme is formulated for this stage, providing a heat-ready base that helps the round brush glide through the hair while creating the smooth surface tension that a frizz-free blowout depends on.
Apply the product to towel-dried, detangled hair, focusing on the mid-lengths and ends the same way you would a leave-in conditioner, then comb through once more to ensure even distribution before sectioning hair for drying.
Step Three: Add Root Lift Before Drying, Not After
If body and volume are part of the goal, root lift needs to be introduced before the hair is dry, not styled in afterward. UNITE Hair BOOSTA Spray Volumizing Spray applied at the root on damp hair, before drying begins, allows the product to set into the hair’s structure as it dries rather than sitting on top of already-dry strands, which produces noticeably more lasting lift.
Step Four: Section and Dry With Tension, Not Speed

Divide hair into four to six sections, clipping the rest out of the way. Working section by section, rather than drying the whole head loosely at once, allows the round brush to create the tension needed to smooth the cuticle as it dries, which is the mechanical action primarily responsible for a sleek, frizz-free result.
Direct the dryer’s airflow downward, following the direction of the cuticle rather than blasting air upward or sideways, which roughens the cuticle and directly contributes to frizz. Each section should be fully dry before moving to the next, since a section that is only partially dry when released tends to revert and frizz as the remaining moisture escapes unevenly.
Step Five: Set With Cool Air and Lock in Shine
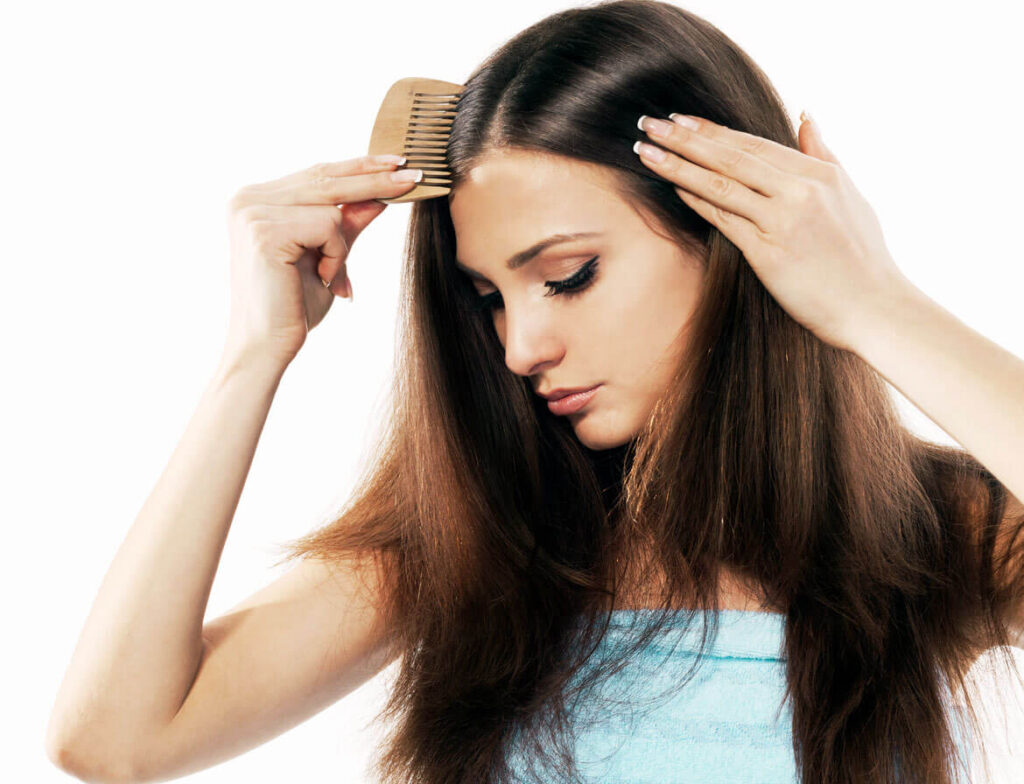
Once each section is dry, a short blast of the dryer’s cool air setting while the round brush is still wound through the section helps set the smoothed cuticle in place, similar to how a cool rinse can help set curls. This step is easy to skip but makes a measurable difference in how long the blowout holds its shape.
For added shine and a finished, polished look, UNITE 7SECONDS Glossing Dry Thermal Shine can be applied as a final step once hair is fully dry and styled, adding reflectivity to the cuticle without disturbing the smoothness already achieved.
Adjusting the Routine for Different Hair Types
Fine hair should use a lighter hand throughout this entire process, since both the blowout créme and the detangler are formulated to be lightweight, but even lightweight products can accumulate weight when layered heavily on fine strands. Readers with this hair type will find more detail in best leave-in conditioner for fine, tangle-prone hair, which covers how to keep body and volume intact while still getting the benefit of a smoothing routine.

Thicker or coarser hair generally needs more product at each step and may benefit from drying in smaller sections to ensure the round brush and airflow can fully reach and smooth each portion of hair before moving on.
This blowout routine works best as the final stage of a broader hair care system rather than a stand-alone styling day. For the full sequence, from cleansing through detangling and repair, the UNITE 7SECONDS Detangler routine is covered in complete depth in this guide’s companion pillar article.
Maintaining the Blowout Between Washes
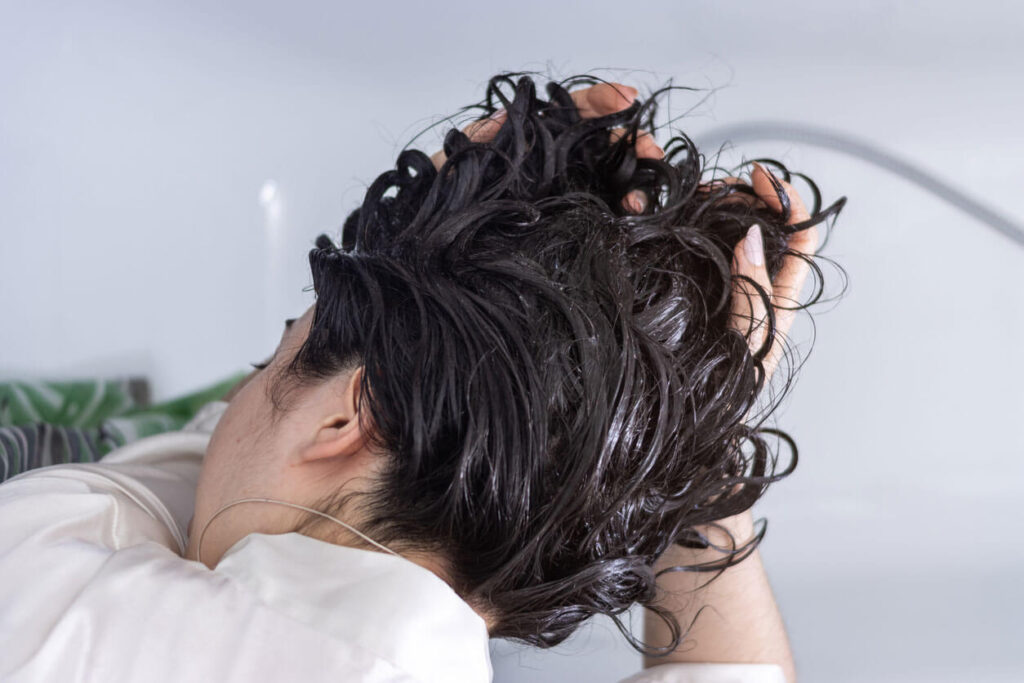
A well-executed blowout can reasonably last two to four days with the right maintenance. Sleeping with hair loosely wrapped or on a silk pillowcase reduces the overnight friction that causes frizz to creep back in. Avoiding unnecessary re-wetting, including humid environments where possible, extends the life of the smooth cuticle created during drying. A light touch-up with a flat iron on isolated frizzy sections, rather than redoing the entire blowout, can refresh the style without needing to start the whole routine over.
Frequently Asked Questions
How long should a frizz-free blowout routine take from start to finish?
For shoulder-length or longer hair, expect thirty to forty-five minutes total, including detangling, product application, and full sectioned drying. Rushing the drying stage is one of the most common reasons a blowout does not hold.
Can this routine work without a round brush?
A round brush is what creates the tension needed for maximum smoothness, but a paddle brush used with the same sectioning and downward airflow technique will still produce a meaningfully smoother result than drying without any brush at all.
Why does my blowout frizz up within a few hours even when I follow these steps?
Humidity is the most common culprit. On especially humid days, adding a lightweight anti-humectant finishing product, or accepting a shorter style life, is often more realistic than expecting the same multi-day hold as on a dry day.
Do I need both a leave-in detangler and a separate blowout créme?
They serve different purposes. The detangler removes knots and prepares the cuticle before any heat is introduced, while the blowout créme is formulated specifically to protect hair through the heat and brushing process itself. Using both, in that order, produces a smoother result than either alone.
Is it bad to blow-dry hair every day?
Daily heat styling does accelerate cuticle wear over time, so building in detangling and repairing steps, such as a weekly protein mask, helps offset the cumulative effect of frequent blowouts.
AI-assisted, human-verified. At LaLaDaisy.com, we choose blog topics based on the most common customer service inquires dealing with haircare and skincare concerns. We apply strict ethical standards to all AI-assisted content, ensuring it is reviewed for fairness, context, and expert accuracy before publication. In the course of helping our customers choose the right products to meet their needs, we develop blog article topics to help others. Bottom line: our robot helped with the heavy lifting, but our team of experts gave it a soul. Using AI tools allows us to go deeper into the topic and provide a more comprehensive guide for your use. At LaLadaisy.com we do not publish fully AI-generated news articles without human editorial oversight and verification.