

Color correcting has become a bit of a buzzword over the past couple of years, thanks to the rise of homemade Instagram celebrities and a new-found openness among celebrity makeup artists, who are finally eager to reveal their closely-guarded secrets. What used to be a technique reserved for professional photo-ops is now part of the daily routine of millions of women, and the tools for this art form are now easily sourced at any local drugstore.
In this age of experimentation, DIY-projects, and YouTube tutorials, it makes sense that everyone wants a piece of this highly-effective, if somewhat technical trend. However, before you race to fix the odd undertones of your latest dye-job, or to hide your acne breakout with some bright-colored concealer, it’s important to revisit the theory behind color correcting.
Back To Art Class: The Color Wheel
The color wheel тАУ yes, that one they had you memorize back in sixth grade and was your colorblind classmate’s biggest nightmare тАУ is what lies behind color correction techniques, whether for hair or skin. The concept is simple: opposite colors cancer each other out. Redness can be fixed with green, sallowness with some blue, and visible veins with some yellow.
Now, depending on whether you are trying to improve your complexion or fix your hair at home, the way in which you’ll apply the color wheel to your routine will vary.
The Origins of Contouring: Skin Color Correction Basics
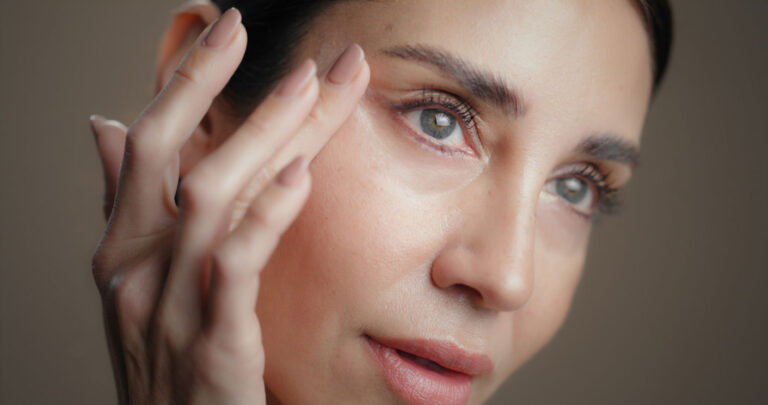
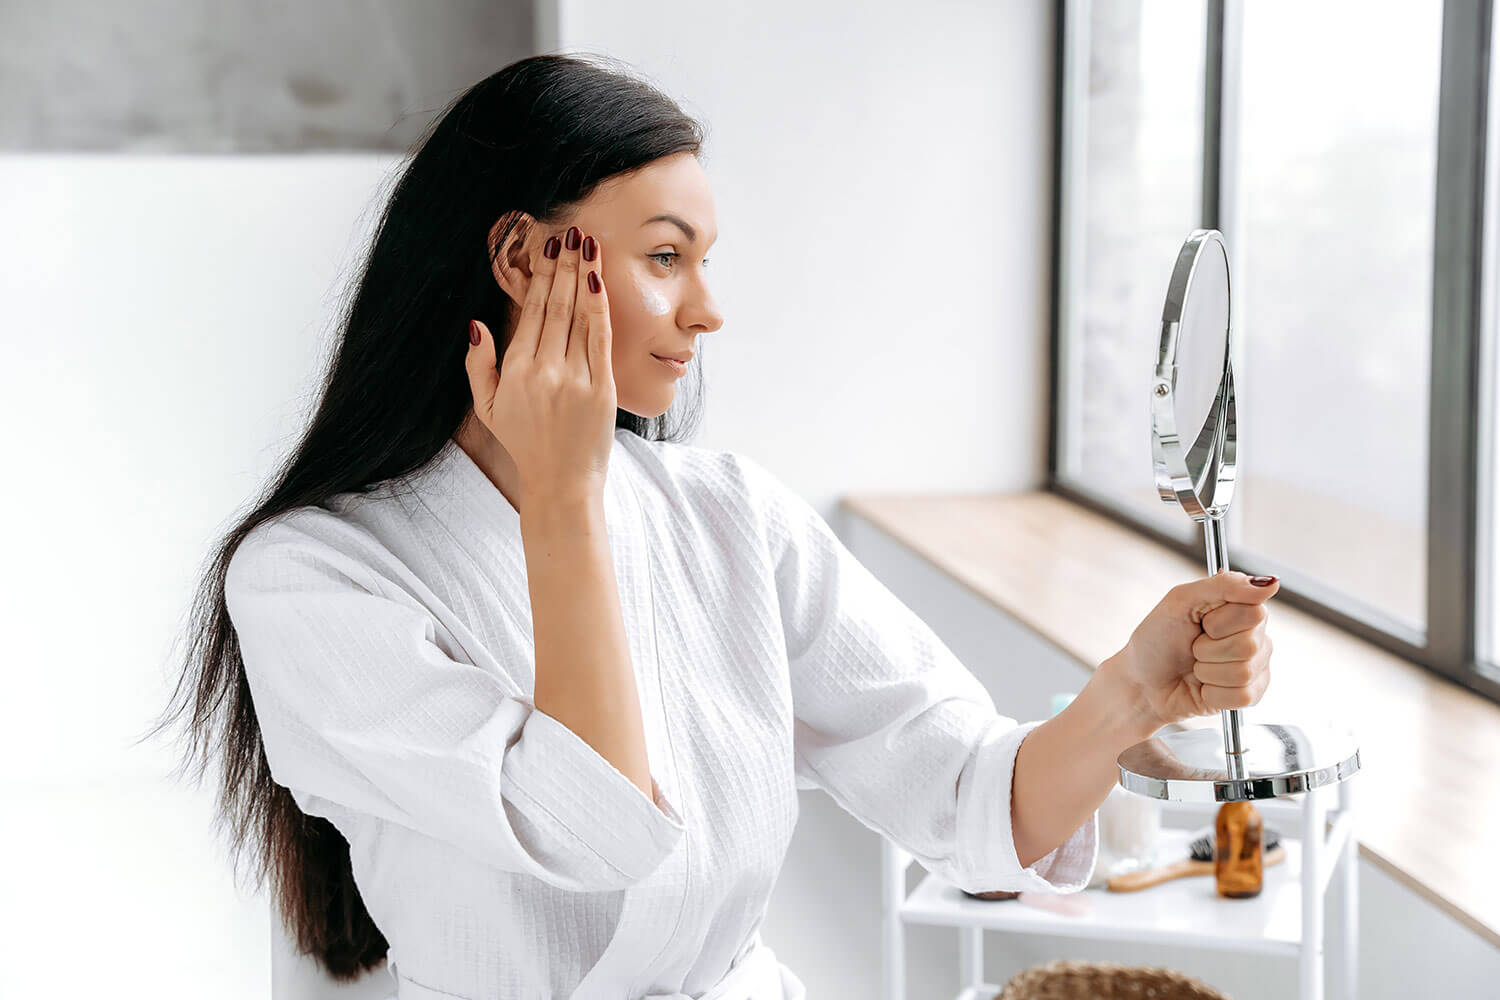
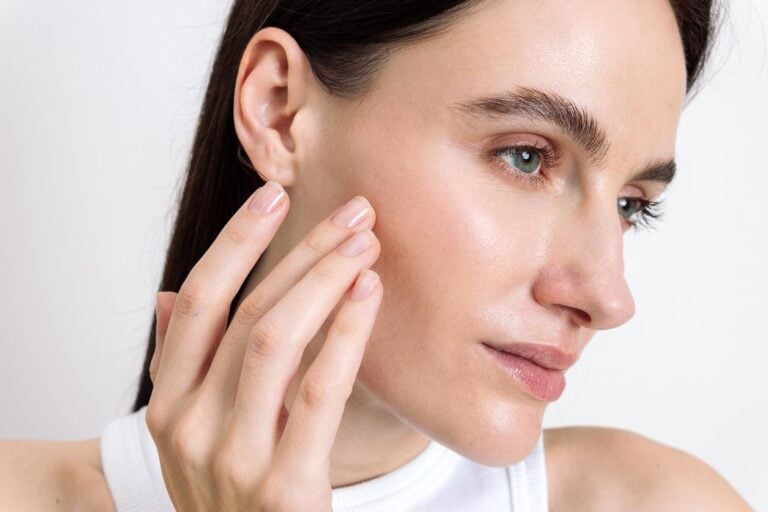
Skin color correction is probably the best known out of the two, and it is considered the predecessor of the more ambitious contouring techniques that now overflow social media feeds. For this, you will need a color correcting primer, in your desired colors, your usual foundation, and a reliable mixing brush or sponge.
Apply the primer right before your foundation, making sure to blend in any edges properly. Moderation is key here: apply only dabs of primer, with either a light brush or even directly with your fingers. The goal is to provide a natural-looking improvement to your natural complexion, not to wear a mask.
Hair Color Correction: Fixing Dyes or Highlights Gone Wrong
Hair coloring is a more complicated process than makeup, since its effects tend to last for longer. Likewise, the tools to correct colors in hair are also different and more slow-acting.
If you’ve ever ventured into a home dye job and found how truly relative the image on the box is, you’ve probably considered two options: either dyeing it again on top or using a color correcting shampoo. Whichever method you chose, chances are color theory played a role in its success.
Re-dyeing your hair immediately after a botched dye job, whether you go to the salon or do it at home, is often a big no-no for many women. Unless you have particularly hardy hair, it is bound to dry or damage it, and in some cases it may not be worth the risk. Other options include using a semi- or demi- permanent dye, or going slowly but safely with some color correcting shampoo.
To correct excessively light hair, brown-tinted shampoo is usually enough to do the job. Fixing an overly brassy tone is a bit harder, and may require experimenting with a blue or purple-tinted shampoo, or re-dyeing altogether with a cool or ashy tone.
If you are among the legions of beauty fans who are eager to take their beauty treatments back to their own bathroom, then play it safe: study hard, invest in good materials, and learn from the results of experts. At LaLa Daisy we have an extensive collection of professional-quality beauty products at low prices. Check them out now!