Beauty Blog
How to Care for Your Makeup Brushes
Oct
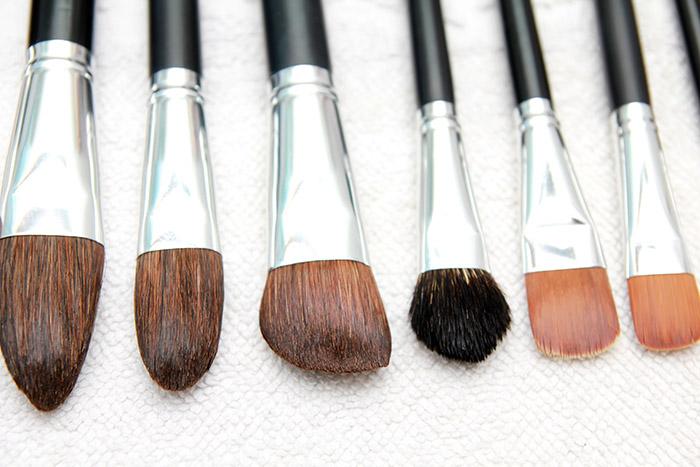
Makeup brushes are like the magic wands of the cosmetic world. They smooth, conceal, blend and evenly distribute products so you can achieve a flawless, blemish-free look.
But, what happens if you fail to clean your makeup brushes regularly? Have you ever noticed an unpleasant smell coming from your Kabuki brush or wondered why your concealer brush suddenly stopped concealing?
If so, they are probably overdue for a good cleaning.
But, wait! Before you take a bottle of hand soap to those beautiful natural hair bristles or toss them in the dishwasher (oh, the horror!), keep reading to find out how to properly clean your makeup tools, step by step.
Step 1: Determine the Last Time You Washed Your Brushes
Think about the last time you cleaned your brushes. Still thinking? That’s okay!
A lot of people forget to wash their brushes regularly. The important thing is that you’re taking steps to show your brushes some love by caring for them properly.
Now brace yourself for this next piece of information: According to many beauty experts, you should clean your makeup tools at least once a week. You’d better get started!
Step 2: Gently Wet Your Brushes
Before adding suds to your makeup tools, place the bristles under a gentle stream of lukewarm water for a few seconds. Using hot water could damage the bristles, and using cold water could cause the bristles to hold onto bacteria and debris instead of letting it go.
Step 3: Add Cleanser to Palm
Squeeze a drop or two of makeup brush cleaner or another type of mild soap into the palm of your hand. If you have a gentle brush scrubbing tool, you can put the cleanser directly onto its’ surface.
Stay away from harsh cleansers or shampoos. They can cause your bristles to dry out and become matted.
Step 4: Clean Brushes
Gently swirl the bristles of your makeup tools around in your palm until the soap starts to form suds. If you have a brush scrubbing tool, swirl the bristles around on the tool instead of in your palm.
If the soap suds start to turn an off-white or brown color during this process, it’s an indication that the soap is doing its job.
Step 5: Rinse Your Brushes
When you’re satisfied that your tools are sufficiently clean, rinse them in lukewarm water until the stream runs clear. Repeat steps 3 and 4 if necessary.
Step 6: Squeeze Out Excess Moisture
Using a clean, soft towel, squeeze out any excess water from the brush tips. Be gentle to avoid unintentionally pulling out bristles.
Step 7: Straighten and Reshape
At this point in the process, you may notice that some of your bristles are pointing in wild directions. Tame them by gently wrapping your hand around the brush head and pulling the bristles upward.
Step 8: Dry Your Tools
To keep your tools from becoming mildewed or misshaped, make sure you dry them upside-down or with the bristles hanging off the counter edge. Never dry them in a towel or with the bristles lying flat on the counter.
Step 9: Establish a Washing Schedule
Keep your tools fresh and clean by maintaining a regular washing schedule. Try doing it on the same day each week until it becomes a habit.
Add to Your Brush Collection
Now that you know how to keep your brushes looking (and smelling) great, it’s time to think about adding to your collection!
LaLa Daisy has a great selection of makeup tools, including:
- Handi Brushes
- Kabuki Brushes
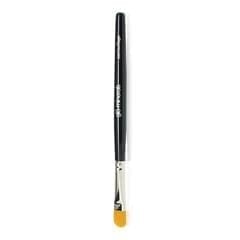
- Camouflage Brushes (such as this GloMinerals brush)
- BeautyBlender Sponges
- Retractable Ultra Brushes
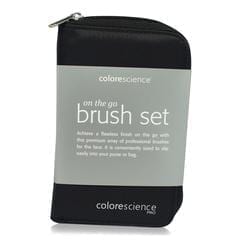
This awesome set of brushes, Colorscience on the go brush set, is a perfect place to start!
 Whether you’re looking for a reliable concealer brush or a must-have foundation brush, LaLa Daisy has got you covered. While you’re browsing, check out the other makeup products we offer!