
How to repair damaged hair starts with one key truth: hair you can see is fiber, not living tissue—so “repair” means improving strength, elasticity, smoothness, and appearance while preventing new damage from happening.
How to repair damaged hair: diagnose the damage first

Damage usually comes from four sources:
- Heat damage: frequent blow-drying, straightening, curling, and using hot brushes without protection.
- Chemical damage: bleach, highlights, relaxers, perms, repeated color.
- Mechanical damage: rough towel drying, aggressive brushing, tight elastics, sleeping with friction.
- Environmental stress: UV exposure, chlorine, saltwater, pollution.
If your hair snaps when brushing, feels rough no matter what you do, tangles constantly, or looks frizzy even after conditioning, you don’t need more random products. You need a recovery plan built around gentler cleansing, consistent slip, targeted weekly treatments, and protection—this is how to repair damaged hair without guessing. For best results, consult our professional haircare routine guide.
You can’t “treat” damage effectively until you reduce what’s causing it.
Signs your hair is damaged (and what they mean)
- Split ends: the cuticle has frayed; splits travel upward if not trimmed.
- White dots: weakened points in the strand that snap easily.
- Excessive tangles: rough cuticle = more friction.
- Stretchy, gummy feel when wet: often over-processing; needs gentler handling and the right treatment balance.
- Stiff, straw-like feel: can be dryness, cuticle roughness, or protein overload.
Knowing these signals helps you choose treatments that actually match your hair.
Step 1: Stop creating new damage (this is the real “repair”)
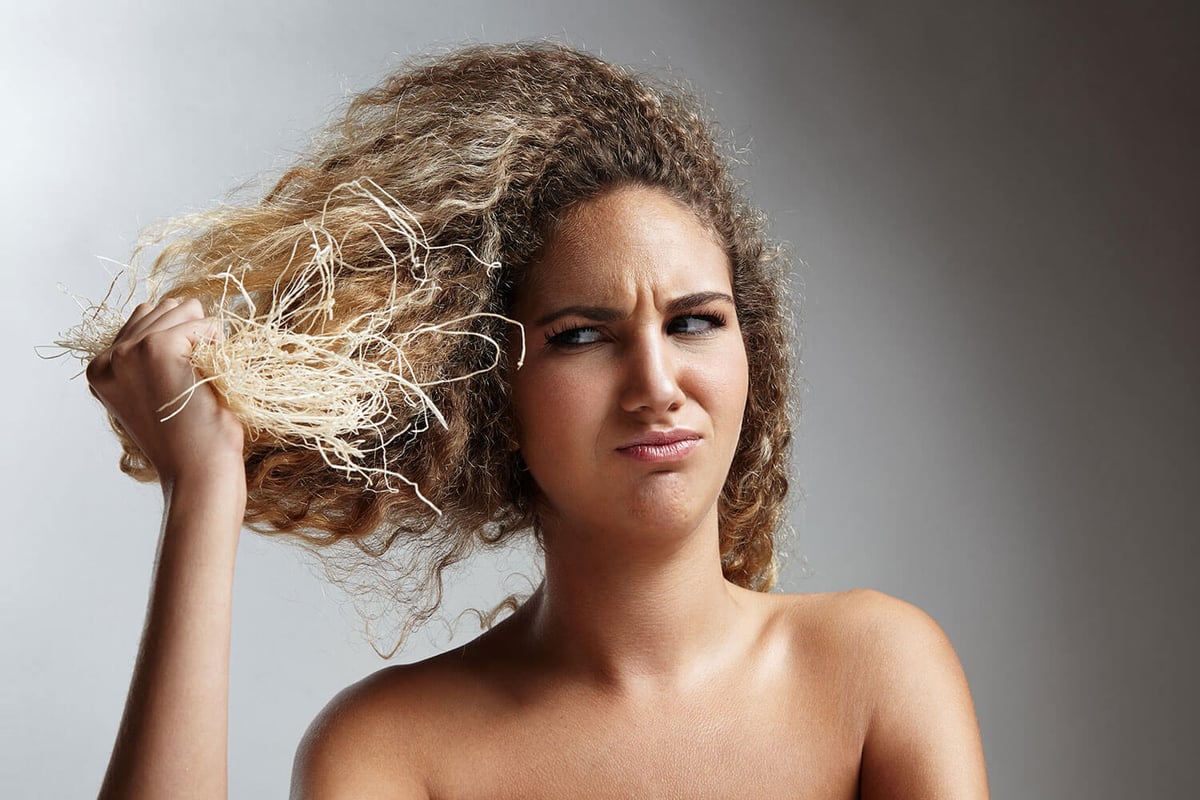
When considering how to repair damaged hair, know that prevention has to start immediately:
- Lower heat temperature.
- Heat style less often.
- Use a heat protectant every time.
- Switch to gentler detangling (wide-tooth comb on wet hair).
- Avoid tight hairstyles that pull and snap strands.
Pro tip: If you keep styling at high heat without protection, no mask or oil will keep up.
Step 2: Cleanse gently (and clarify only when needed)
Harsh cleansing raises the cuticle and increases tangling—exactly what damaged hair doesn’t need.
Best practice
- Use a gentle shampoo as your default.
- Shampoo the scalp; let foam rinse through lengths.
- Clarify only when residue is real (dullness, coated feel, roots collapsing).
If you use a lot of styling products, a periodic reset makes treatments absorb better—but don’t overdo it.
Step 3: Condition for slip (slip reduces breakage fast)

Conditioner is your daily breakage-control tool. It reduces friction while detangling and styling.
Best practice
- Conditioner every wash.
- Apply mid-lengths to ends.
- Detangle gently in the shower.
- Rinse thoroughly so hair feels soft, not coated.
For more information, read our guide on deep conditioning vs. hair masks.
Step 4: Use weekly targeted treatments (rotate for balance)
Most damaged hair needs two categories rotated:
- Repair/bond support (especially for bleach/chemical/heat stress)
- Hydration (to keep hair flexible and reduce frizz)
A simple rotation:
- Week A: repair/bond support
- Week B: hydration mask
Repeat.
This structure is one of the most reliable answers to how to repair damaged hair without overloading strands.

Watch out for protein overload
Protein can help some damaged hair, but too much can make hair stiff and brittle. If hair feels hard or snaps more, reduce protein and return to hydration + slip.
Step 5: Protect from heat and environment (your “maintenance insurance”)
Damaged hair is more vulnerable to:
- Heat
- UV exposure
- Chlorine and saltwater
- Wind friction
Use:
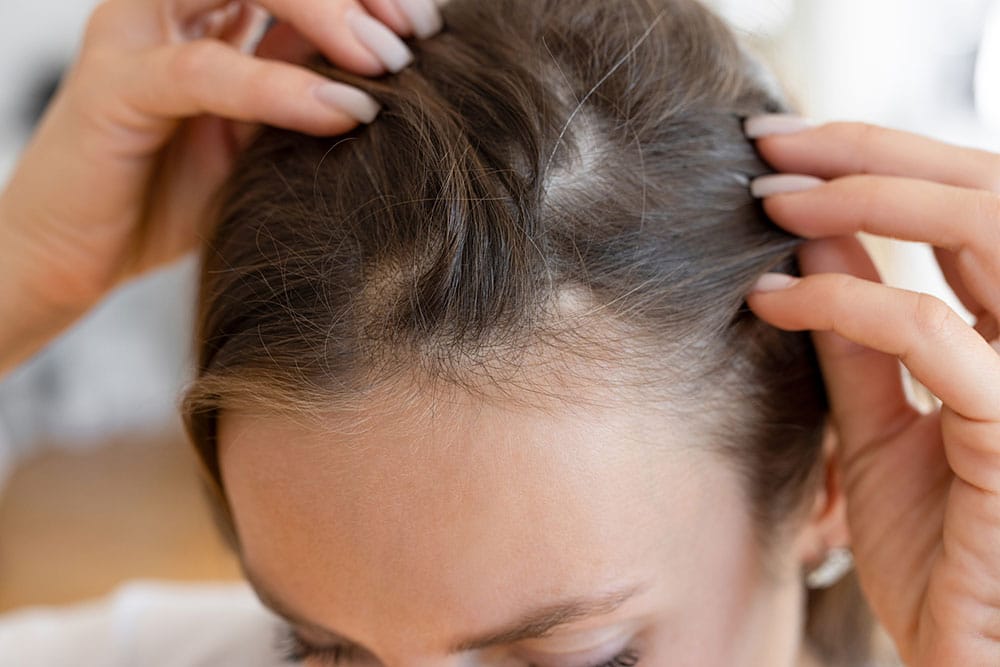
- Heat protectant for styling
- UV protection if you’re outdoors often
- A swim protectant or rinse plan if you’re in chlorine/saltwater regularly
Protection is what makes how to repair damaged hair sustainable instead of temporary.
Step 6: Trim strategically (to stop splits from traveling)
Trims don’t “heal” hair, but they prevent splits from creeping upward and causing more breakage.
A good approach:
- Micro-trim on a schedule if splits appear quickly
- Avoid waiting until ends are severely frayed
You keep more length with small trims than with big rescue cuts.
Common mistakes that slow recovery
Mistake 1: Using oils as the only solution
Oils can add shine and reduce friction, but they don’t rebuild weakened structure.
Fix: use oils as a finishing step; keep weekly treatments and conditioning consistent.
Mistake 2: Overusing strong protein
Too much can make hair rigid.
Fix: rotate hydration and repair; use protein only when hair truly needs structure.

Mistake 3: Treating damaged hair like healthy hair
Rough brushing, hot tools, and tight styles undo progress.
Fix: handle hair gently and protect it daily.
Mistake 4: Changing everything at once
You can’t tell what’s working.
Fix: change one variable at a time and track for 4–6 weeks.
A realistic 4-week plan (simple, repeatable)
Week 1: gentle shampoo + conditioner every wash; hydration mask once; heat protectant always.
Week 2: gentle shampoo + conditioner; repair/bond support once; reduce heat frequency.
Week 3: repeat hydration week; clarify only if coated/buildup is present.
Week 4: repeat repair week; evaluate breakage, softness, and tangling.
The biggest win is consistency—this is how to repair damaged hair without chasing miracles.
Quick fixes for “I need it to look better today”
When you’re in the middle of recovery, styling choices matter. To make hair look smoother while you work on long-term improvement:
- Use a leave-in conditioner for extra slip.
- Seal ends with a small amount of oil or serum (ends only).
- Choose lower-heat styling and fewer passes.
- Finish with a humidity shield if frizz is your main issue.

This doesn’t replace your plan, but it supports it—because how to repair damaged hair is easier when hair is manageable and you’re not fighting tangles daily.
The takeaway
If you remember one thing, remember this: how to repair damaged hair is a prevention-first process. Reduce heat and friction, keep cleansing gentle, condition every wash, and commit to weekly treatments. Done consistently, knowing how to repair damaged hair becomes a routine—not a rescue mission.
AI-assisted, human-verified. At LaLaDaisy.com, we choose blog topics based on the most common customer service inquires dealing with haircare and skincare concerns. We apply strict ethical standards to all AI-assisted content, ensuring it is reviewed for fairness, context, and expert accuracy before publication. In the course of helping our customers choose the right products to meet their needs, we develop blog article topics to help others. Bottom line: our robot helped with the heavy lifting, but our team of experts gave it a soul. Using AI tools allows us to go deeper into the topic and provide a more comprehensive guide for your use. At LaLadaisy.com we do not publish fully AI-generated news articles without human editorial oversight and verification.