-
 Redken Frizz Dismiss Shampoo 10.1 oz
×
$26.951 × $26.95
Redken Frizz Dismiss Shampoo 10.1 oz
×
$26.951 × $26.95 -
 SOROCI Mild Lotion 2.7 oz
×
$22.001 × $22.00
SOROCI Mild Lotion 2.7 oz
×
$22.001 × $22.00 -
 AXIS-Y Dark Spot Correcting Glow Toner 4.23 oz
×
$22.001 × $22.00
AXIS-Y Dark Spot Correcting Glow Toner 4.23 oz
×
$22.001 × $22.00 -
 Carolina Herrera Good Girl Eau de Parfum 2.7 oz
×
$198.002 × $99.00
Carolina Herrera Good Girl Eau de Parfum 2.7 oz
×
$198.002 × $99.00 -
 OPI GelColor Malaga Wine 0.5 oz
×
$28.801 × $28.80
OPI GelColor Malaga Wine 0.5 oz
×
$28.801 × $28.80 -
 Matrix Biolage Strength Recovery Conditioner 33.8 oz
×
$37.951 × $37.95
Matrix Biolage Strength Recovery Conditioner 33.8 oz
×
$37.951 × $37.95



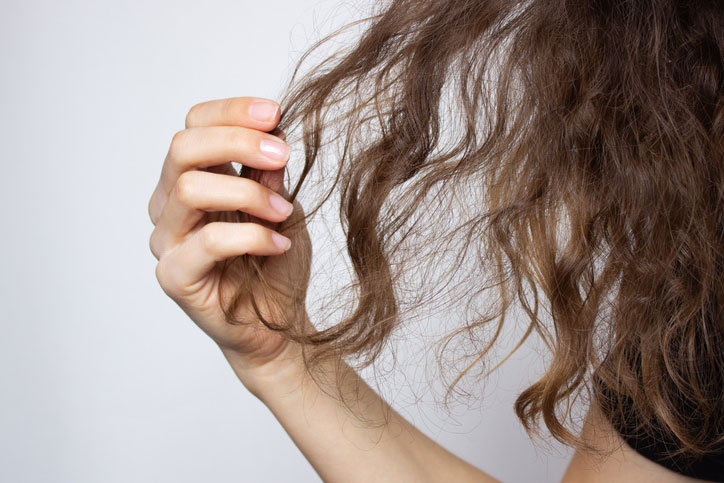
In this article, we’ll share a valuable haircare routine for dry, damaged hair. There is a particular kind of frustration that comes with dry, damaged hair. You buy products. You try treatments. You watch tutorials. And still — the breakage, the dullness, the frizz, the strands that snap between your fingers when they should be bending. If this sounds familiar, the problem is rarely the products themselves. Most of the time, it is the routine.
Dry damaged hair does not respond to random acts of moisture. It responds to a consistent, science-backed sequence of care — one that addresses what is actually happening inside the hair shaft, not just on the surface. This guide breaks that sequence down, step by step, so you understand not only what to do, but why each step matters.
Whether your hair has been compromised by heat styling, chemical processing, environmental stress, or years of neglect, this complete haircare routine for dry damaged hair will give you a clear, actionable path back to strength and softness.
Understanding Why Hair Becomes Dry and Damaged in the First Place

Before building a haircare routine for dry, damaged hair, it helps to understand what you’re actually repairing. Hair damage is structural. The outermost layer of each hair strand is the cuticle — a protective shield of overlapping scales, like roof tiles. When hair is healthy, these scales lie flat, reflecting light and sealing in moisture. When hair is damaged, those scales lift, crack, or erode entirely.
Beneath the cuticle lies the cortex, which is where hair gets its strength, elasticity, and color. Inside the cortex are disulfide bonds — the protein bridges that keep hair resilient. Heat, bleach, perms, and mechanical stress (think tight ponytails, aggressive brushing, and rough towel-drying) break these bonds. Once broken, the hair can no longer hold onto moisture effectively, and it begins to feel rough, brittle, and porous.
Porosity is the key concept here. High-porosity hair — the hallmark of damage — absorbs water quickly but loses it just as fast, which is why damaged hair often feels dry again within an hour of conditioning. A repair routine must address both the structural damage (broken bonds) and the moisture-retention problem (compromised cuticle) simultaneously. For more information on what causes hair to become dry, read this article from WebMD on the causes of dry hair.
The 7-Step Haircare Routine for Dry Damaged Hair
Step 1: Pre-Wash Preparation (Optional But Powerful)
Before your shampoo even touches your hair, a pre-wash treatment can significantly reduce the mechanical damage that washing causes. Pre-wash oiling — applying a lightweight oil like argan or coconut to dry hair 20–30 minutes before shampooing — acts as a protective barrier that reduces hygral fatigue (the swelling and contracting hair undergoes when it absorbs and releases water repeatedly).
This step is especially valuable for very high-porosity, chemically processed hair. If your hair tangles badly in the shower or snaps during detangling, consistent pre-wash treatments can reduce that breakage within a few wash cycles. This is an important step to consider in your haircare routine for dry, damaged hair.
Step 2: Choose the Right Shampoo — and Use It Correctly
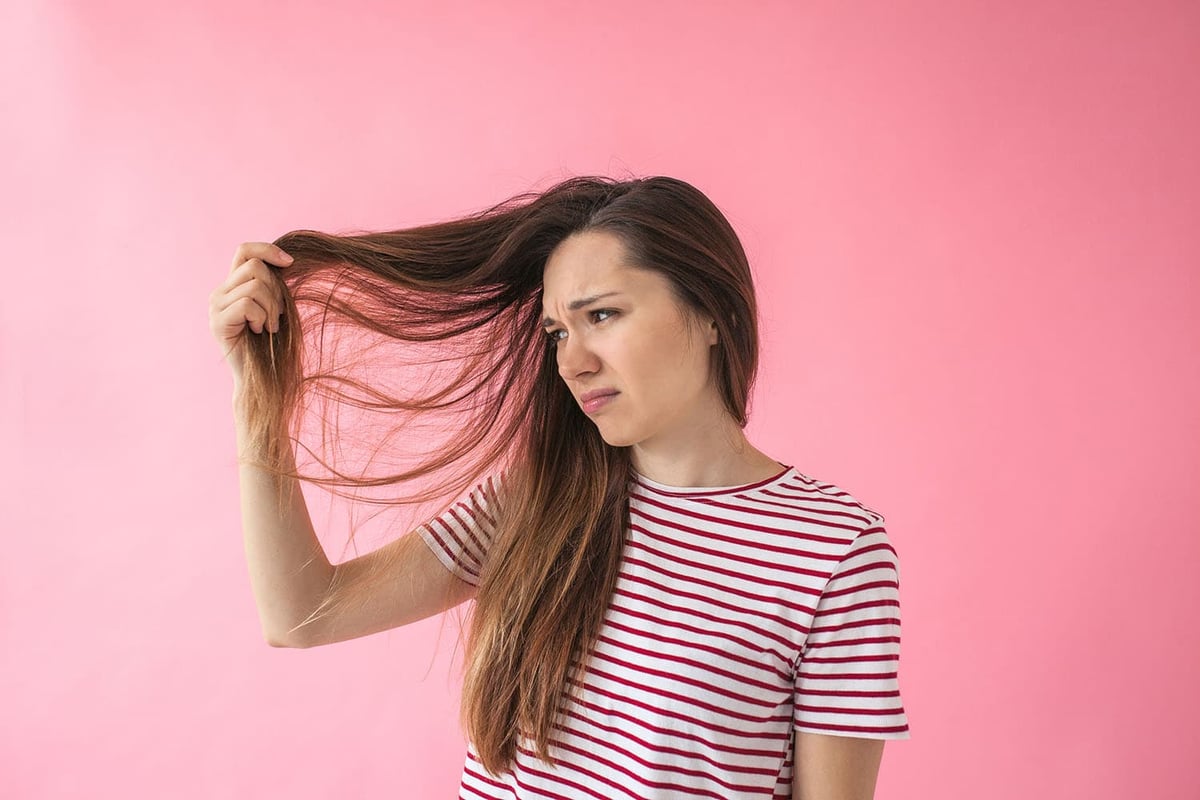
Most people with damaged hair make one of two mistakes: they use a shampoo that is too stripping, or they over-shampoo. Both accelerate moisture loss and cuticle erosion.
In the most effective haircare routine for dry, damaged hair, the ideal shampoo is sulfate-free or uses gentle, mild surfactants — and it does something beyond cleaning. The K18 Damage Shield pH Protective Shampoo is a standout example of this category. It uses a proprietary pH-balancing system to keep the cuticle in a closed, flat position during washing, which is the exact opposite of what most shampoos do. Most shampoos, even good ones, temporarily raise the hair’s pH, which causes the cuticle to swell and lift. A pH-balanced shampoo protects the cuticle during the wash process itself, which reduces protein loss and moisture escape with every single shampoo.
Similarly, the Davines Nounou Nourishing Shampoo is formulated specifically for dry, brittle, or chemically treated hair. Its surfactant blend is exceptionally gentle, and it lays the groundwork for moisture retention by leaving the hair surface calm and receptive for conditioning steps that follow.
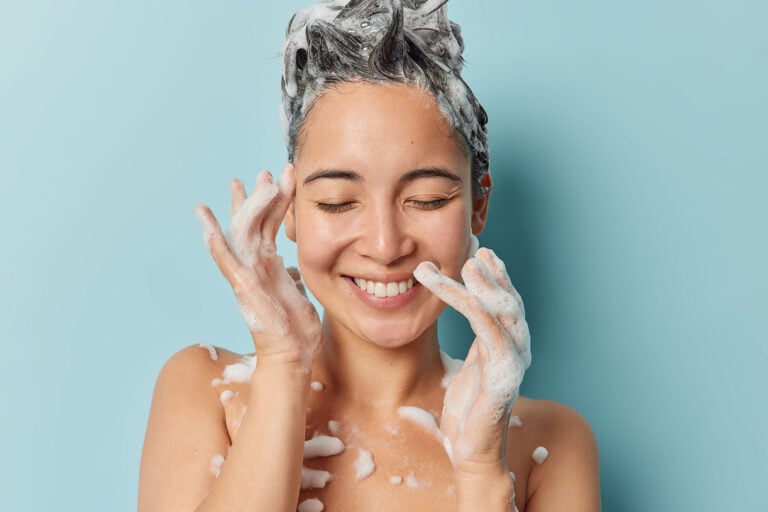
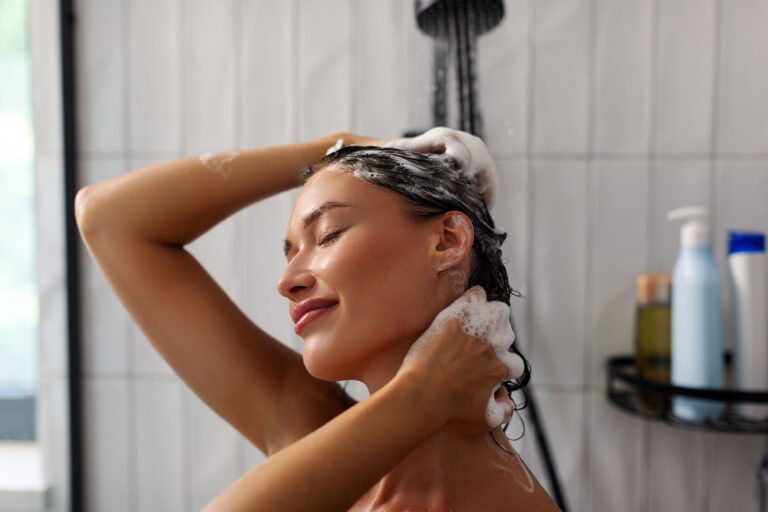
How to shampoo damaged hair correctly:
- Focus lather at the scalp, not the lengths
- Work in sections if your hair tangles easily
- Use lukewarm water, never hot
- Rinse thoroughly but gently — no aggressive scrubbing
Step 3: Condition Immediately After Every Wash

This is not optional for damaged hair. Conditioning is the step that temporarily smooths the cuticle, deposits emollients and proteins, and begins restoring what the shampoo removed. In our haircare routine for dry damaged hair, standard conditioners are typically applied mid-length to ends, left for 2–5 minutes, and rinsed.
The Moroccanoil Moisture Repair Conditioner is an excellent choice here. Argan oil-infused and protein-rich, it delivers immediate softness and detangling without heaviness — which matters because damaged hair can easily be weighed down by overly rich formulas, particularly near the roots.
The key technique: detangle while the conditioner is in, using a wide-tooth comb or your fingers. This is when hair is most pliable and least prone to mechanical breakage. Never detangle dry, damaged hair without some form of slip product in place.
Step 4: Deep Treatment — The Non-Negotiable Repair Step
If there is one step that separates a maintenance routine from a genuine repair routine, it is the deep treatment. This is where the real structural work happens.
There are two categories of deep treatment relevant to damaged hair:
Bond-building treatments work at the molecular level, reconnecting broken disulfide bonds inside the cortex. Olaplex is the definitive name in this category. The Olaplex 4-in-1 Moisture Mask is particularly compelling for damaged hair because it combines the brand’s signature bond-building technology with intense hydration — addressing both the structural and moisture problems in one step. For those starting their repair journey, the Olaplex In Good Repair Kit provides a curated introduction to the bond-building system, making it easier to understand how the steps work together.

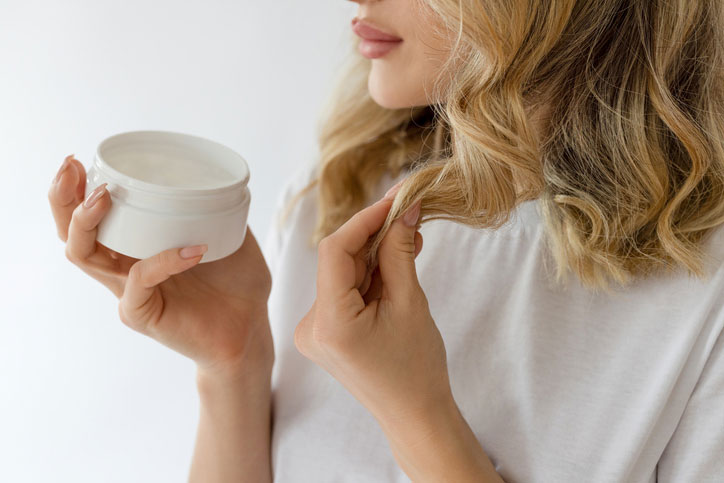
Nourishing masks work primarily on the cuticle and surface layers, restoring lipids, emollients, and the softness that damaged hair loses. The Amika Soulfood Nourishing Mask is one of the most beloved in this category — rich in sea buckthorn berry (a potent source of omega fatty acids, vitamins C and E) and deeply conditioning without the stiffness that some repair masks can leave. It is ideal for hair that is dry and rough but not severely structurally compromised.
For maximum results with our haircare routine for dry damaged hair, deep treatments should be used once to twice per week, applied to damp (not soaking wet) hair, and left for the minimum time recommended on the packaging. To understand the full protocol for getting the most from these treatments, read the guide on how to use a hair mask, where timing, technique, and layering strategies are covered in detail.
Step 5: Leave-In Conditioner or Finishing Treatment
Once hair is rinsed and gently pressed (not twisted or rubbed) with a microfiber towel, it’s in its most vulnerable state. Applying a leave-in treatment at this point does several things: it seals in some of the moisture from the wash and deep treatment, creates a lightweight barrier against environmental damage, and provides the slip needed for final detangling.
For very damaged hair, a leave-in with protein is ideal — but protein balance is important. Too much protein without enough moisture causes hair to feel stiff and snap more easily, a condition sometimes called protein overload. A good leave-in for damaged hair offers a blend of light protein and humectants (ingredients that draw moisture from the air into the hair shaft), such as panthenol or glycerin.
Step 6: Heat Protection Is Mandatory, Not Optional
This step is often the one damaged-hair sufferers skip — which is one of the primary reasons the damage cycle continues. If you use any heat tool on your hair (blow dryer, flat iron, curling iron, diffuser), a heat protectant is not a bonus. It is the baseline.

Heat protectants work by forming a thin film over the hair surface that dissipates thermal energy more evenly, reducing the peak temperature that reaches the cortex. Without protection, temperatures above 150°C (302°F) begin to permanently alter the hair’s protein structure — and most styling tools run far hotter than that.
For damaged hair, choose a heat protectant that also provides some conditioning benefit, rather than a purely film-forming spray. And always — always — blow dry on the lowest effective heat setting, keeping the nozzle moving and never stationary on a single section.
Step 7: Seal and Protect Between Washes
The final layer of a solid damaged-hair routine is between-wash protection. This is where lightweight oils, hair serums, and finishing creams come in. These products do not clean or repair — but they protect the repair work you’ve already done.
Between washes, damaged hair is subject to friction (pillowcases, clothing), UV exposure, humidity, and pollution. A few drops of a nourishing oil or a smoothing serum applied to dry ends each morning can significantly slow re-damage between wash sessions.
Silk or satin pillowcases are also genuinely worth the investment for damaged hair. Cotton pillowcases create friction against the hair cuticle all night long — the equivalent of very gentle but very prolonged mechanical damage repeated hundreds of times per week.
Building Your Weekly Schedule: A Sample Damaged Hair Routine

A consistent schedule prevents over-washing and under-treating:
Wash Day (2–3x per week depending on hair type): Pre-wash oil treatment → pH-balanced or gentle shampoo → rinse-out conditioner (detangle while in) → deep treatment mask or bond-builder → leave-in → heat protectant → style on low heat
Between Wash Days: Light oil or serum on ends → protective style or loose wear → silk pillowcase overnight
Weekly: Bond-building treatment OR nourishing mask (alternate if hair needs both, but never layer both in the same session — the hair can only absorb so much)
What Products Work Together for Dry Damaged Hair

The brands featured across LaLaDaisy’s haircare selection are not randomly assembled. Each addresses a different dimension of the damage problem:
- K18 (Damage Shield Shampoo + Conditioner Combo Pack) targets pH-level cuticle protection from the very first rinse-out step
- Olaplex (In Good Repair Kit, 4-in-1 Moisture Mask) operates at the bond level for true structural repair
- Amika (Soulfood Nourishing Mask) restores surface softness and moisture through botanical richness
- Davines (Nounou Nourishing Shampoo) provides the gentlest possible cleansing foundation
- Moroccanoil (Moisture Repair Conditioner) delivers immediate silkiness and detangling ease with argan oil at its core
Understanding the best ingredients for damaged hair — and knowing how each formula achieves its claims — makes it much easier to select the right combination for your specific level of damage. The right products, used in the right order, in a consistent routine, produce results that are genuinely transformative. The keyword is consistent. This is very important in your haircare routine for dry damaged hair. Damaged hair does not repair in a single wash session. But with a thoughtful routine applied regularly, the difference after four to six weeks is often dramatic.
How Long Does It Take to Repair Dry Damaged Hair?

This is one of the most common questions — and the honest answer depends on two things: the severity of damage and the consistency of treatment.
For mildly dry or over-processed hair, a well-structured repair routine can produce visible improvements in softness, frizz reduction, and manageability within two to four weeks. For severely heat-damaged or bleached hair, meaningful structural change takes longer — typically six to twelve weeks of consistent routine application before the damage zone begins to truly feel and behave differently.
It is important to set realistic expectations: a repair routine cannot eliminate split ends (those must be trimmed) or reverse complete cuticle erosion on a single strand. What it can do is halt the progression of damage, restore resilience and moisture balance to salvageable strands, and protect new growth from experiencing the same fate. To understand the fastest path through recovery, the complete step-by-step guide on how to repair damaged hair fast provides a recovery-focused protocol for those at the most urgent stages.
Mistakes That Slow Down Recovery
Even with the right products and routine structure, certain habits extend the repair timeline significantly:
Washing with hot water. Hot water opens the cuticle aggressively and strips natural oils. Lukewarm — and a cold-water final rinse — dramatically improves moisture retention.

Skipping the rinse-out conditioner in favor of only using a mask. Masks and deep treatments serve a different function than daily conditioners. Both may be necessary, but you need to understand the difference between hair masks vs deep conditioner.
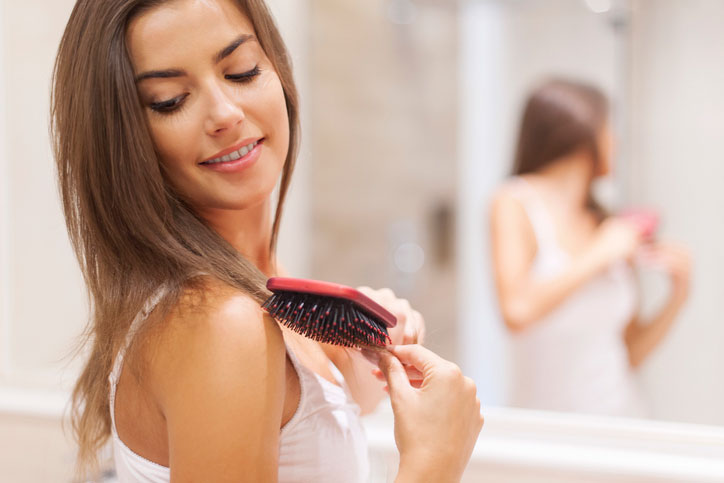
Over-brushing dry hair. Brushing dry, damaged hair creates friction along an already-compromised cuticle. Detangle when wet (with slip product in) and limit dry brushing to a single pass with a soft-bristle brush.
Using too much protein. Bond-builders and keratin treatments are powerful — but protein-heavy products need to be balanced with hydrating, moisture-focused treatments. Rotating between a bond-building treatment and a pure moisture mask (like Amika Soulfood) is often the most effective approach for a haircare routine for dry damaged hair.
Inconsistency. The most common reason repair routines fail is abandonment. Three weeks of excellent care, followed by two weeks of careless habits, effectively reset the timeline.
FAQ: Haircare Routine for Dry Damaged Hair
Q: How often should I shampoo dry, damaged hair? A: Most people with dry, damaged hair shampoo too frequently. Two to three times per week is sufficient for most hair types — and some very dry or coily hair types do well with once a week. Over-shampooing strips the natural sebum that helps protect the cuticle between washes.
Q: Can I use a bond-builder and a nourishing mask in the same routine? A: Using both in the same session is not recommended — hair can only absorb so much product in one wash. It is more effective to alternate: bond-building treatment one wash, nourishing mask the next. Over time, this rotation addresses both structural and surface moisture needs.
Q: Is it possible to repair hair damage without cutting it? A: Partially. A strong repair routine can restore resilience, moisture balance, and smoothness to damaged strands — and dramatically slow or stop further breakage. However, it cannot fully reverse severe structural damage or mend split ends. Regular trims (every 8–10 weeks) remove the most compromised lengths while the routine protects new growth.
Q: Why does my hair still feel dry right after conditioning? A: This is a hallmark of high-porosity, damaged hair. The cuticle cannot hold moisture effectively, so it escapes quickly after rinsing. Layering a leave-in conditioner over a rinse-out conditioner helps seal in moisture longer. A bond-building treatment used consistently can also reduce porosity over time by repairing some of the internal structure.
Q: Do I need professional treatments if I use good at-home products? A: Not necessarily. Many professional-grade products — including those in the Olaplex and K18 lines — are formulated to deliver salon-level results at home. That said, a professional bond-building treatment in-salon (often applied before color or chemical services) can jump-start the recovery process in ways an at-home routine takes longer to match.
AI-assisted, human-verified. At LaLaDaisy.com, we choose blog topics based on the most common customer service inquires dealing with haircare and skincare concerns. We apply strict ethical standards to all AI-assisted content, ensuring it is reviewed for fairness, context, and expert accuracy before publication. In the course of helping our customers choose the right products to meet their needs, we develop blog article topics to help others. Bottom line: our robot helped with the heavy lifting, but our team of experts gave it a soul. Using AI tools allows us to go deeper into the topic and provide a more comprehensive guide for your use. At LaLadaisy.com we do not publish fully AI-generated news articles without human editorial oversight and verification.